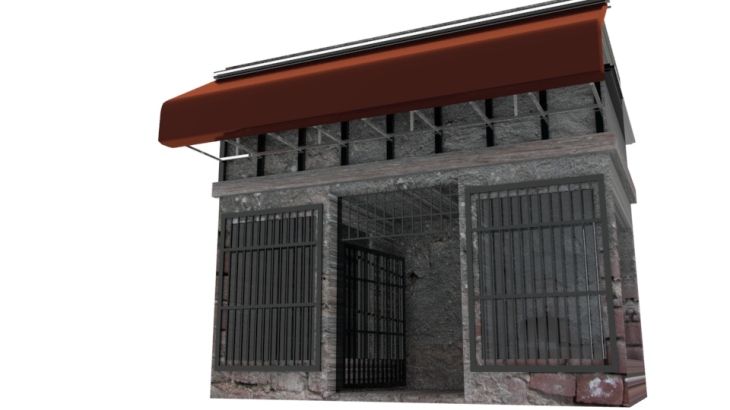
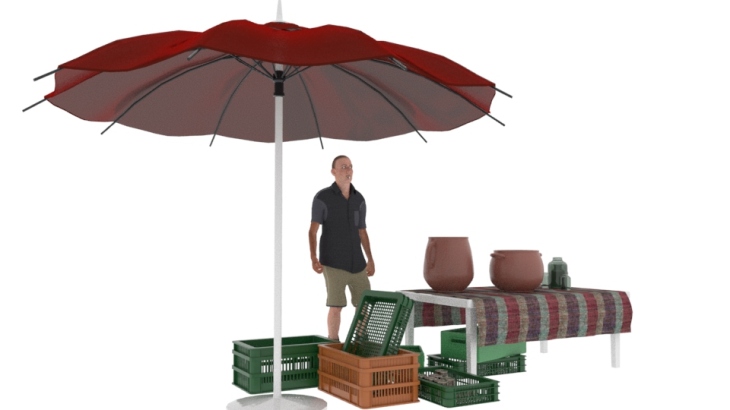
I started the process of lighting with simple spot lights that I’ve been moving around. Following instructions I found on forums and YouTube tutorials, I was able to create a night time skybox that I was happy with.
https://darylrandall.wordpress.com/
https://80.lv/articles/learning-lighting-for-video-games/
https://docs.unity3d.com/Manual/30_search.html?q=light
Because we used the aesthetics of the short “Adam” as inspiration, I’ve been looking at how the team achieved the animation’s incredible visuals:
https://blogs.unity3d.com/2017/12/07/lighting-tips-tricks-in-the-adam-films/
“All lights should cast shadows and those should be fully opaque” […]
“Always remember that light quality equals soft shadow and wide specular.”
When I get all the assets together with the rest of my group, I plan to incorporate some emissive planes as well to help with lighting up the textured details.
Since we haven’t reached the stage of having textured scenes to work with, I wasn’t able to properly experiment with lightmapping on different textures yet. I aim to do that before the final hand in, as I’ve found the process of lighting up a scene in Unity to be very enjoyable and would like to get good at it.
To learn: shot-by-shot lighting
https://80.lv/articles/creating-a-visual-story-in-environment-design/
For lighting tests and scene assembly exercises:
https://www.unrealengine.com/en-US/blog/epic-games-releases-12-million-worth-of-paragon-assets-for-free
Useful genral tips for lighting environments:
https://www.creativebloq.com/how-to/12-tips-for-realistic-3d-lighting
and
https://www.creativebloq.com/how-to/create-a-photorealistic-room-scene
UPDATE:
I continued experimenting with lights and camera effects in Unity and I’m starting to get the hang of it. I created a slightly desaturated environment with contrasting blue(cold) and yellow(warm) lights that I feel would fit the atmosphere of the project. I added lens dirt and camera focus and gave several different settings to post processing options until I was happy with the way the room looked. These are still not the final assets but it should give an idea of how it would look.


